In this article, you will learn the step-by-step process of scanning documents on your iPhone. We will provide you with easy-to-follow instructions to help you easily and efficiently scan any document using your iPhone’s built-in features. By the end of this article, you will have a clear understanding of how to use your iPhone as a portable scanner, making it convenient to digitize important documents on the go. So let’s get started and explore the simple process of scanning documents on your iPhone.
Table of Contents
Step-by-Step Guide: Scanning Documents on iPhone
Have you ever found yourself in a situation where you needed to scan a document, but didn’t have access to a scanner? Luckily, with the advancements in technology, you can now easily scan documents using your iPhone’s Notes app. In this step-by-step guide, we will walk you through the process of scanning documents on your iPhone, allowing you to digitize your physical documents and access them anytime, anywhere. Let’s get started!

Step 1: Open the Notes app
The first step is to open the Notes app on your iPhone. To do this, simply find and tap the Notes app icon on your iPhone’s home screen. Once you tap the icon, wait for the app to open.
Step 2: Create a new note
To start scanning a document, you need to create a new note in the Notes app. At the bottom of the screen, you will see a ‘+’ button. Tap on it to bring up a menu of options. From the menu, select ‘New Note’. A blank note will then appear, ready for you to begin scanning.

Step 3: Access the scanning feature
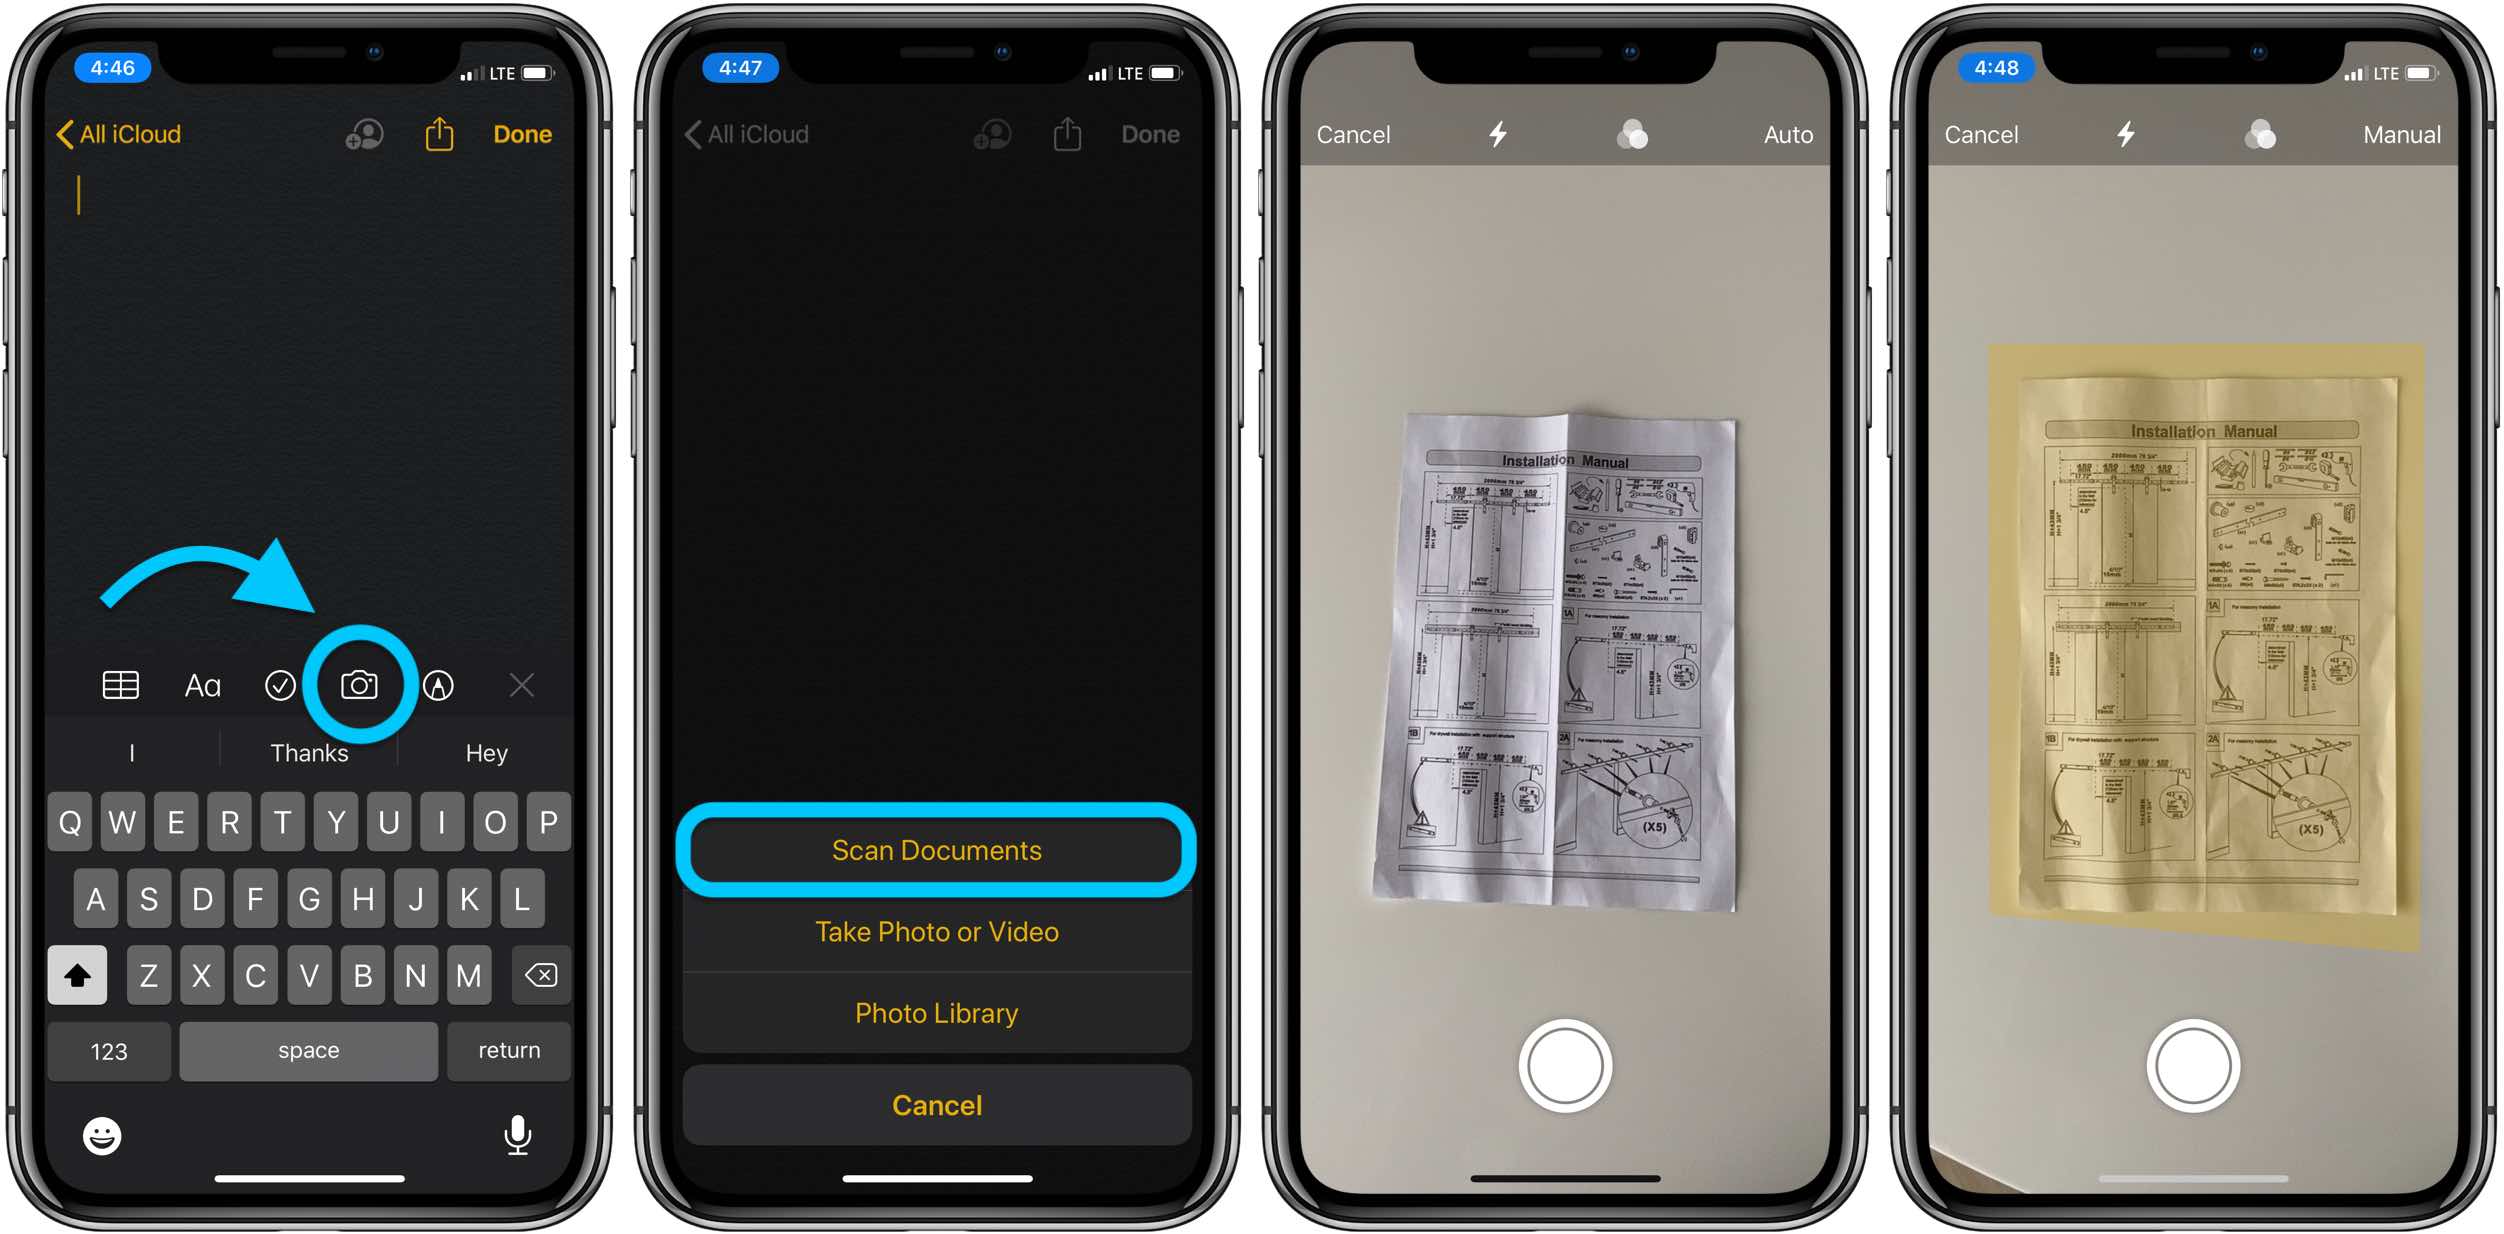
Next, you need to access the scanning feature in the Notes app. To do this, tap on the camera button located above the keyboard. Tapping this button will bring up a menu with different options.
Step 4: Choose the ‘Scan Documents’ option
From the menu that appears, select the ‘Scan Documents’ option. This will open the camera interface, allowing you to scan your documents.

Step 5: Align the document and capture
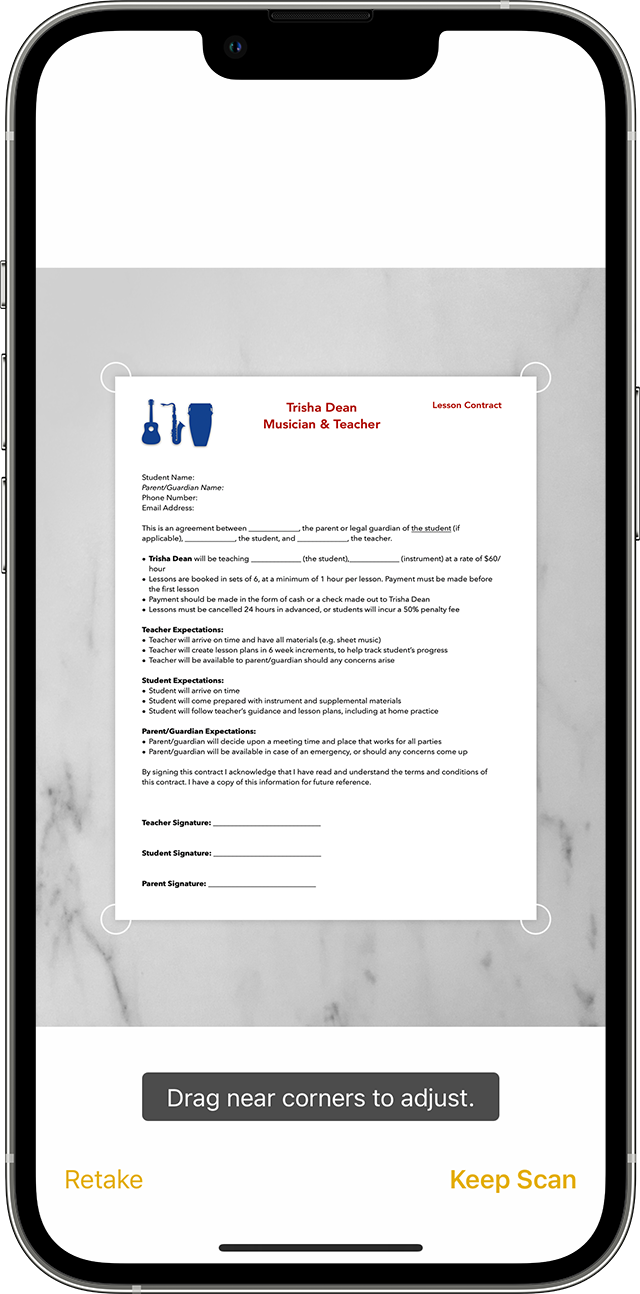
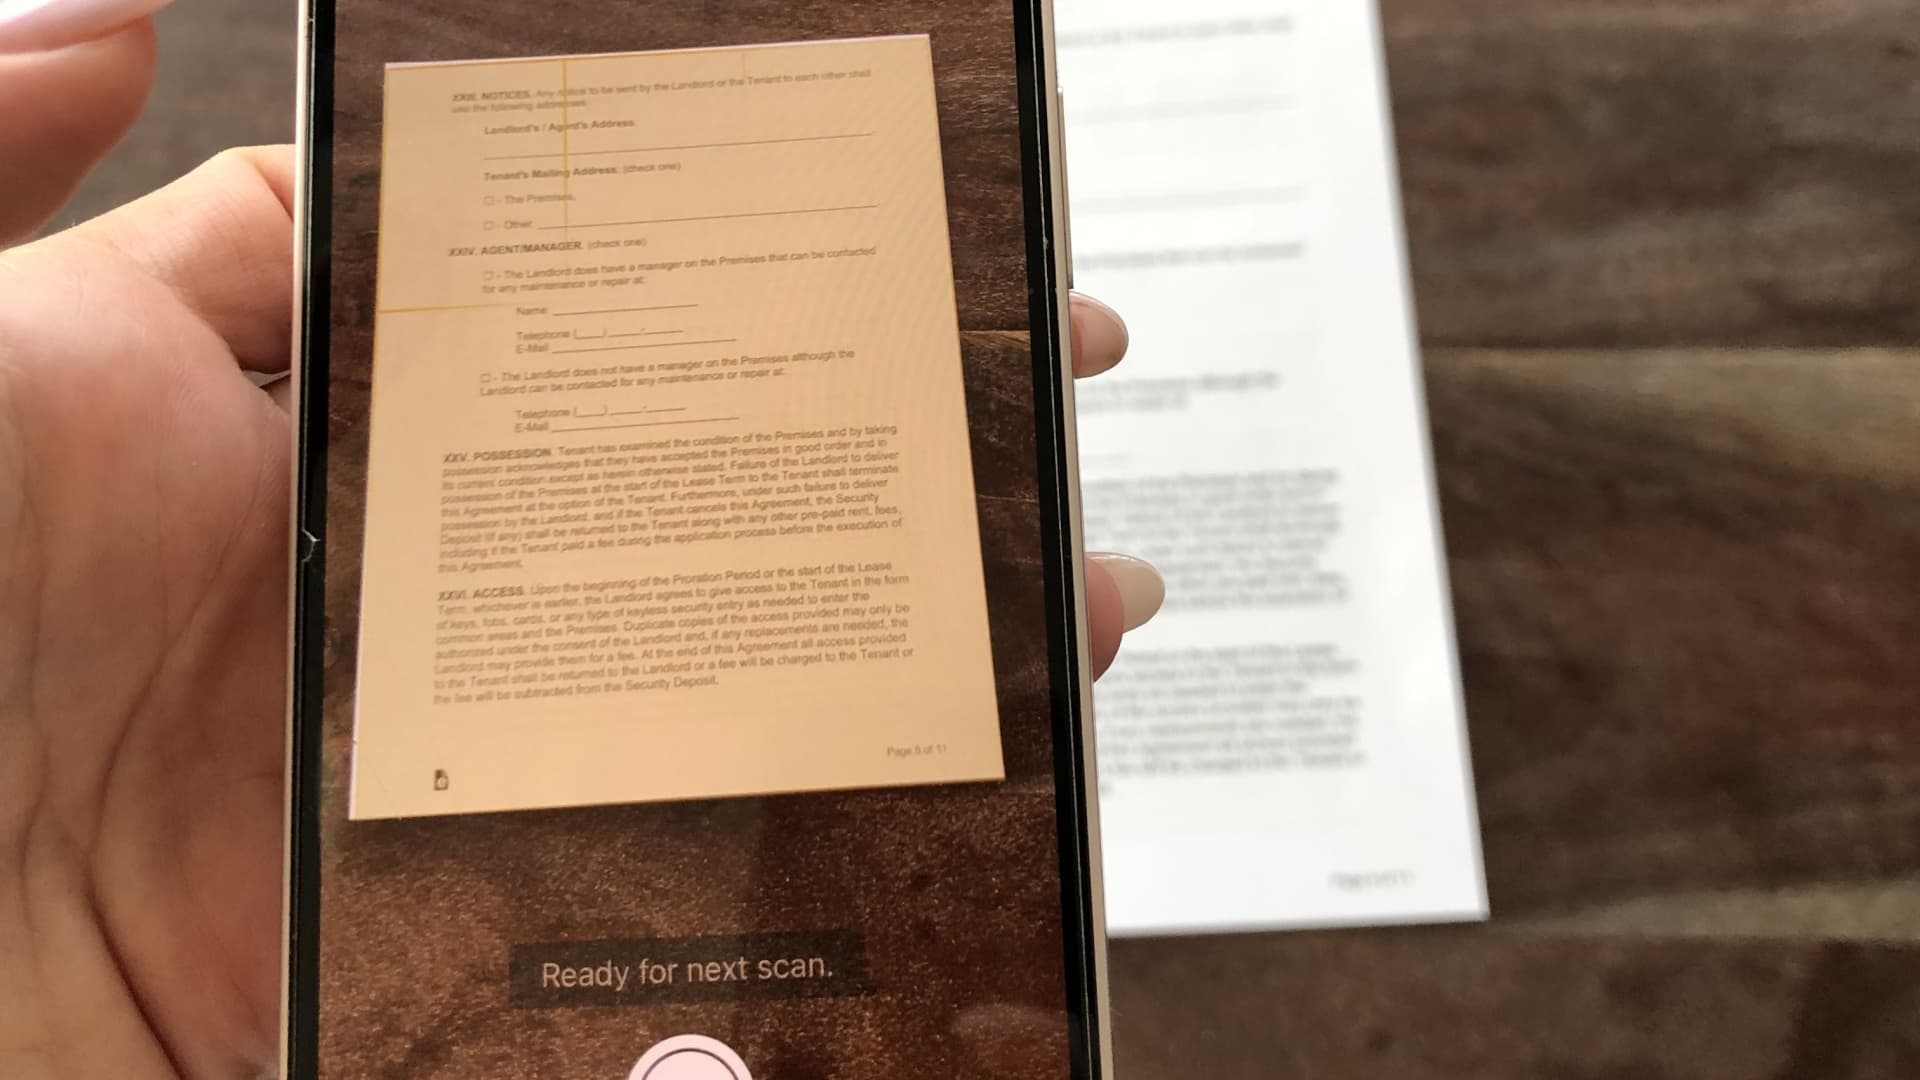
Once you are in the camera interface, position the document you want to scan within the frame. Make sure that all edges of the document are visible and aligned properly. When you have the document positioned correctly, tap the capture button to take a photo. If your document consists of multiple pages, repeat this process to capture each page.
Step 6: Edit or Markup the scanned document
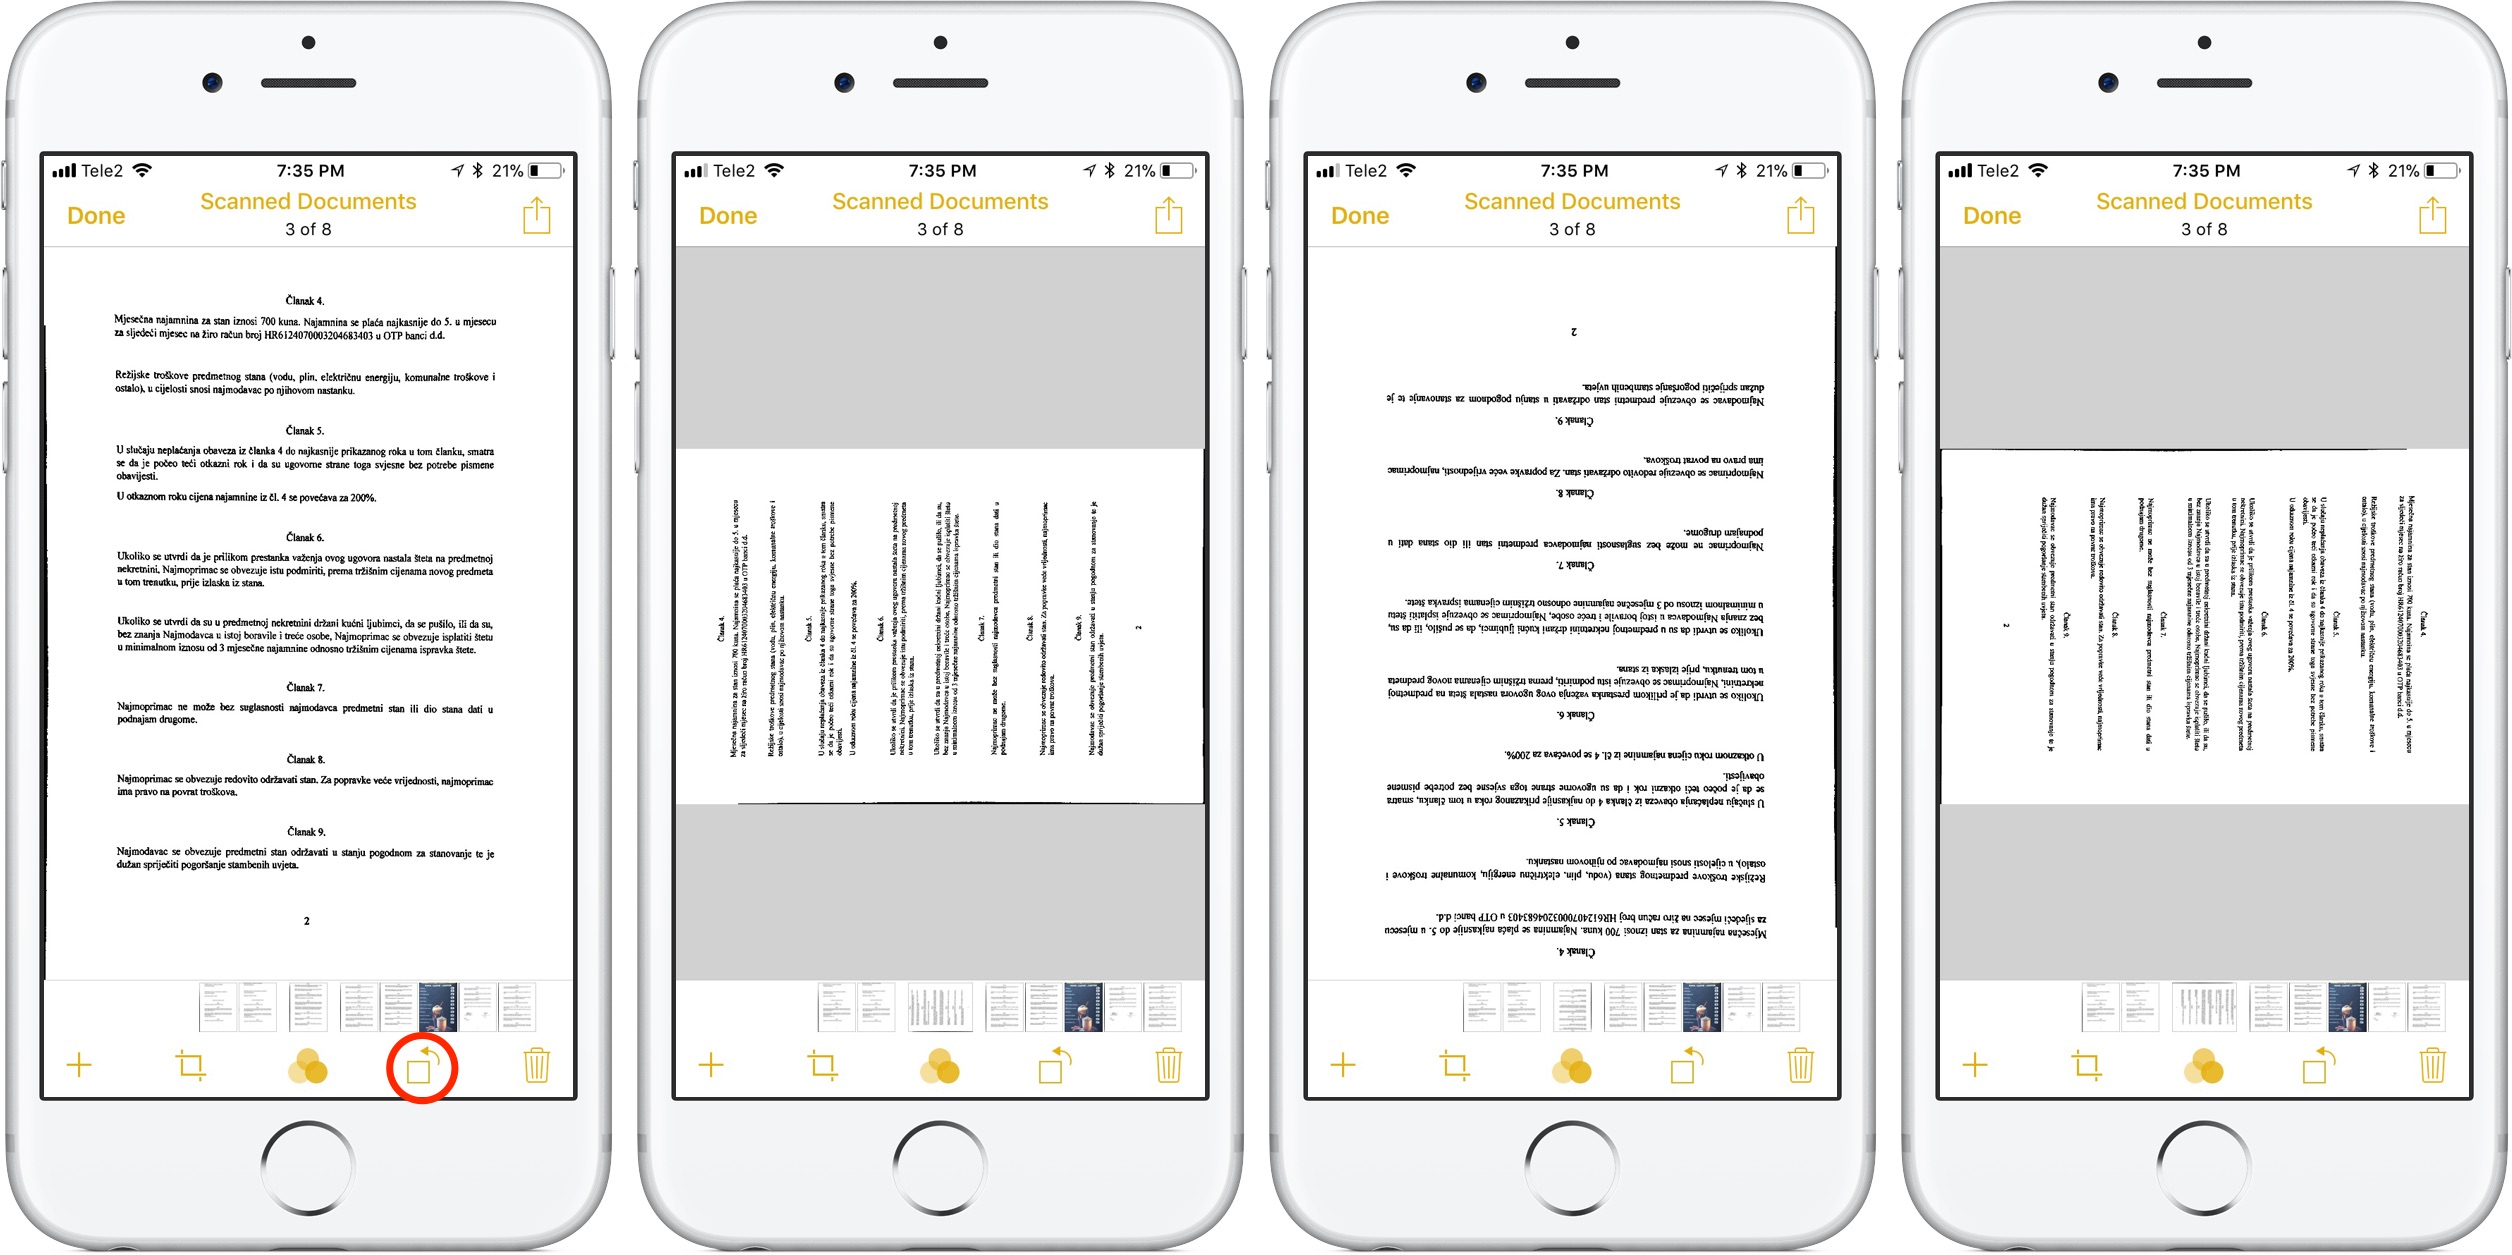
After capturing the document, you have the option to edit or markup the scanned pages. You can preview the scanned document by tapping on it. If you need to make any adjustments, tap the ‘Edit’ button. From here, you can use various tools to crop, rotate, or enhance the document. Additionally, you can markup the document by adding text, highlights, or drawings to emphasize important parts.

Step 7: Save or Share the scanned document
Once you are satisfied with the scanned document and any edits or markups you have made, tap the ‘Done’ button to finish editing. You now have two options: you can either save the scanned document in your Notes app or share it with others. To save the document, simply choose ‘Save’. This will keep the scanned document stored within your Notes app for easy access. Alternatively, you can select ‘Share’ to send the document via various options such as email or messaging apps.
Conclusion
Scanning documents on your iPhone using the Notes app is a convenient and easy process. Now, you don’t have to worry about finding a scanner or any external devices to scan important documents. By following this step-by-step guide, you can easily digitize your physical documents and have them readily available at your fingertips. Whether you need to scan receipts, contracts, or any other documents, your iPhone and Notes app have got you covered. So, why wait? Start utilizing this handy feature on your iPhone today and enjoy the benefits of digital document management.

