In this article, you will learn how to transfer photos from your iPhone to your computer effortlessly. We will explore different methods that cater to both Windows and Mac users, ensuring that you have a smooth experience with each operating system. By the end of this article, you will have step-by-step instructions on how to successfully and efficiently move your photos from your iPhone to your computer, allowing you to free up storage space and have easy access to your cherished memories.

Table of Contents
How to Get Photos from iPhone to Computer
Methods to Transfer Photos From iPhone to Computer
If you have a collection of precious photos on your iPhone that you’d like to back up or transfer to your computer, you’re in luck! There are several methods available for you to easily and securely transfer your photos to your computer. In this article, we’ll walk you through different methods you can use to get your photos from iPhone to computer. Choose the method that works best for you!
Using iCloud Photos
iCloud Photos is a great option for seamlessly syncing and accessing your iPhone photos across all your Apple devices. To use this method, you’ll need to enable iCloud Photos on your iPhone. Here’s how:
- Go to Settings on your iPhone.
- Tap on your Apple ID, then tap on iCloud.
- Scroll down and tap on Photos.
- Toggle on the “iCloud Photos” option.
Once you’ve enabled iCloud Photos on your iPhone, your photos will be automatically uploaded to iCloud. Now, let’s see how you can access and download these photos on your computer:
- Open a web browser on your computer and go to iCloud.com.
- Sign in with your Apple ID and password.
- Click on the “Photos” app icon.
- Select the photos you want to download to your computer by clicking on them.
- Click on the “Download” button to save the selected photos to your computer.
Using AirDrop
If you own a Mac and want a quick and wireless way to transfer photos from your iPhone to computer, AirDrop is the perfect solution. Here’s how you can use AirDrop:
- Ensure that both your iPhone and Mac have Bluetooth and Wi-Fi turned on.
- On your iPhone, swipe up from the bottom of the screen to open the Control Center.
- Tap on the “AirDrop” icon and choose “Everyone” or “Contacts Only” to enable AirDrop.
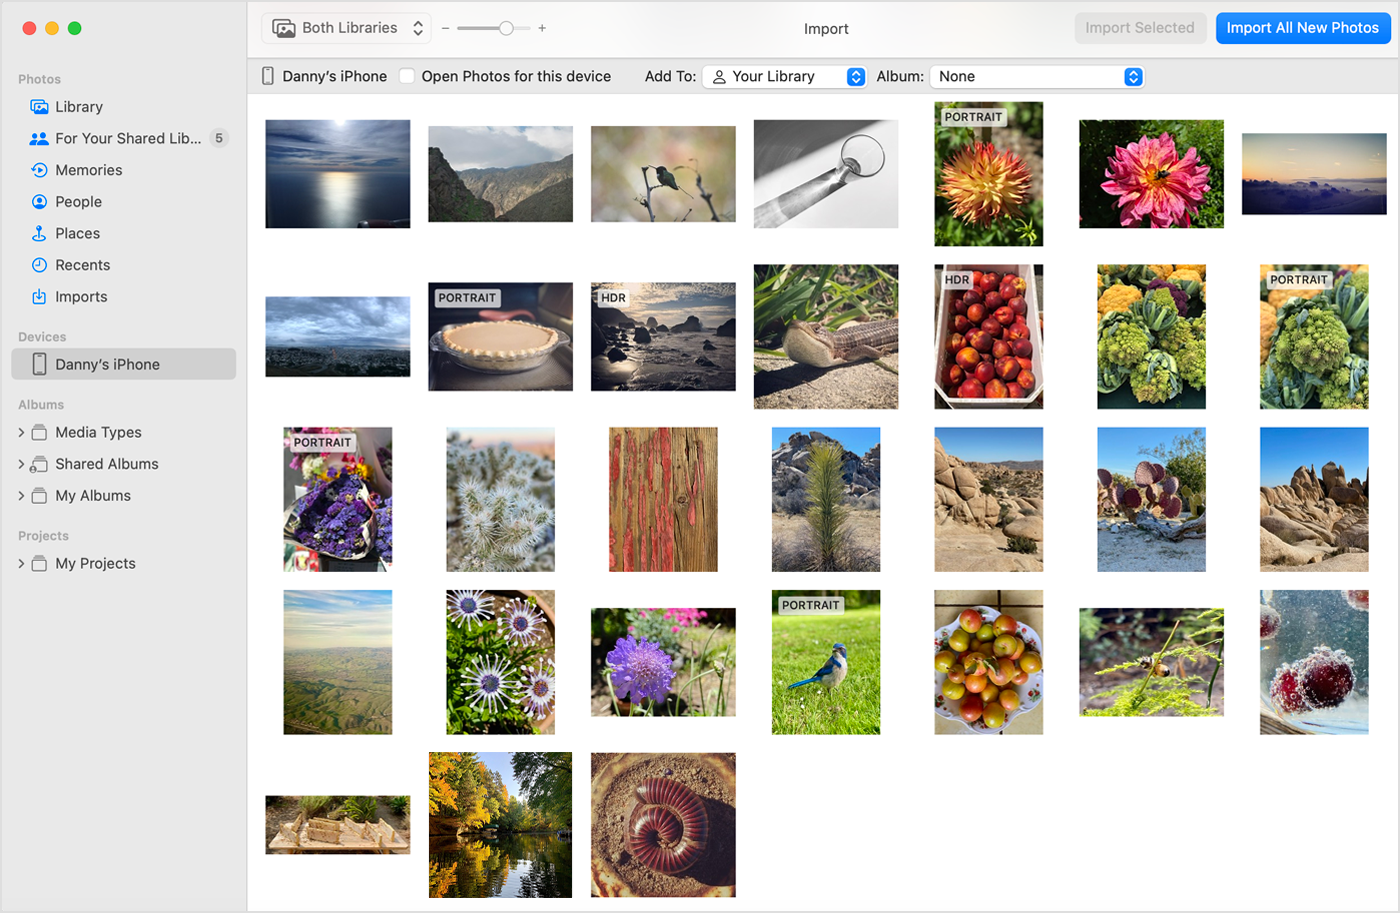
- On your Mac, open Finder and click on “AirDrop” in the sidebar.
- Find your iPhone in the AirDrop window and click on it.
- On your iPhone, tap on the photos you want to transfer, then tap on the share button.
- Tap on your Mac in the AirDrop options, and the photos will be transferred wirelessly to your computer.
Using iTunes
iTunes is another reliable method to transfer photos from iPhone to computer. Here’s how you can do it:
- Connect your iPhone to your computer using a USB cable.
- If prompted, enter your passcode or trust this computer.
- Open iTunes on your computer if it doesn’t open automatically.
- Click on the iPhone icon that appears in the iTunes window.
- Select the “Photos” tab in the sidebar.
- Check the box next to “Sync Photos” and choose the folders or albums you want to sync.
- Click on the “Apply” button to start syncing the selected photos to your computer.
Using a USB Cable
If you prefer a simple and direct method, using a USB cable to transfer photos from your iPhone to computer is a reliable option. Here’s how you can do it:
- Connect your iPhone to your computer using the USB cable that came with your device.
- If prompted, enter your passcode or trust this computer.
- On your computer, open Windows Explorer (Windows) or Finder (Mac).
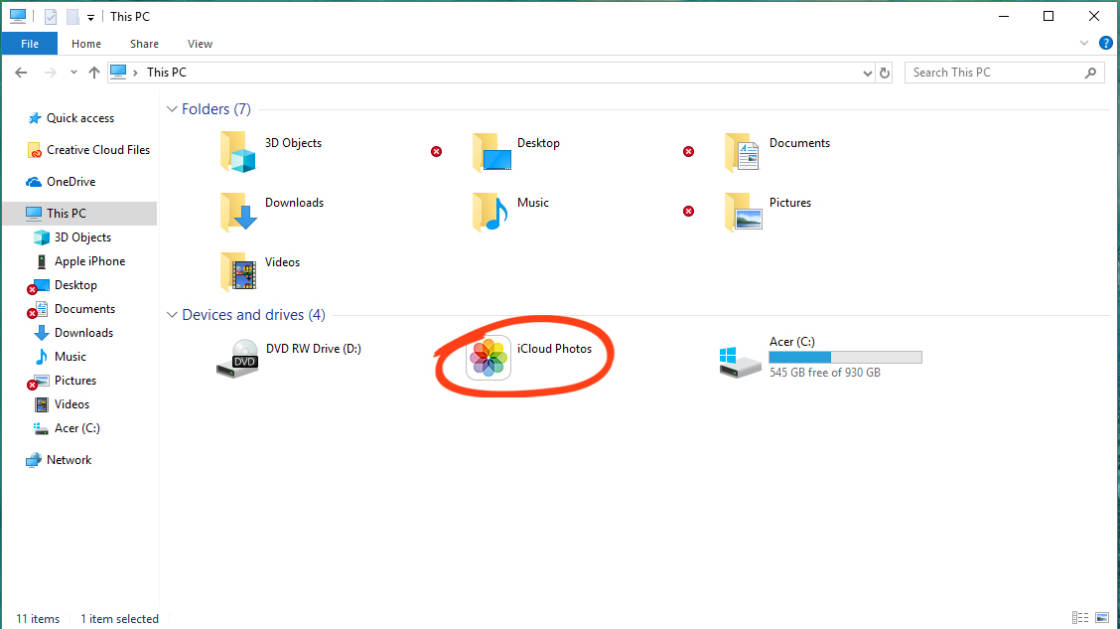
- In the “This PC” section (Windows) or the “Devices” section (Mac), you’ll see your iPhone listed.
- Click on your iPhone to access its internal storage.
- Navigate to the DCIM folder to access your iPhone’s photos.
- Select the photos you want to transfer and drag them to a folder on your computer.
Using Google Photos
If you’re looking for a cloud-based solution to store and access your iPhone photos on multiple devices, Google Photos is an excellent choice. Here’s how you can use Google Photos to transfer your photos to your computer:
- Download and install the Google Photos app from the App Store on your iPhone.
- Open the app and sign in with your Google account.
- Tap on the three horizontal lines in the top-left corner of the screen to open the menu.
- Tap on “Settings,” then select “Backup & Sync.”
- Enable the “Backup & Sync” option to start backing up your iPhone photos to Google Photos.
- On your computer, open a web browser and go to photos.google.com.
- Sign in with the same Google account used on your iPhone.
- Browse and select the photos you want to download to your computer.
- Click on the “Download” button to save the selected photos to your computer.
Using Dropbox
Dropbox is another popular cloud storage service that allows you to store and access your iPhone photos from anywhere. Here’s how you can use Dropbox to transfer your iPhone photos to your computer:
- Download and install the Dropbox app from the App Store on your iPhone.
- Open the app and sign in with your Dropbox account or create a new one.
- Tap on the “Uploads” button to upload your iPhone photos to Dropbox.
- On your computer, open a web browser and go to dropbox.com.
- Sign in with the same Dropbox account used on your iPhone.
- Navigate to the “Photos” folder in your Dropbox account.
- Find the photos you want to download, right-click on them, and select “Download” to save them to your computer.
Using Email
If you only need to transfer a few photos, using email can be a convenient and straightforward method. Here’s how you can do it:
- Open the Photos app on your iPhone.
- Select the photos you want to transfer by tapping on them.
- Tap on the share button and choose the “Mail” option.
- Enter your email address as the recipient and send the email.
- On your computer, open your email client and locate the email with the attached photos.
- Download the attached photos to your computer.
Using Third-Party Apps
There are numerous third-party apps available on the App Store that specialize in transferring photos from iPhone to computer. Some popular options include PhotoSync, Wireless Transfer App, and Photo Transfer App. Simply download and install the app of your choice, follow the instructions provided, and transfer your photos seamlessly.

Conclusion
When it comes to transferring photos from your iPhone to your computer, you have plenty of options to choose from. Whether you prefer using iCloud Photos, AirDrop, iTunes, a USB cable, Google Photos, Dropbox, email, or third-party apps, there’s a method that will suit your needs. It’s essential to choose the method that works best for you while ensuring the security and privacy of your photos. With the methods outlined in this article, you can easily and efficiently get your photos from your iPhone to your computer.
