In this article, you will discover how to scan documents using your iPhone. We will guide you through the process step by step, enabling you to turn physical papers into digital files with ease. You will learn about the built-in features on your iPhone that allow for efficient document scanning, as well as some helpful tips and tricks to streamline the process. By the end of this article, you will have the knowledge and tools to conveniently scan documents using your iPhone.
Table of Contents
Scanning Documents on iPhone
With the advancement of technology, our smartphones have become more than just a device for communication. They now offer a range of features that make our lives easier, including the ability to scan and digitize documents. Gone are the days of bulky scanners and tedious processes. In this article, we will explore different methods for scanning documents on your iPhone.

This image is property of image.cnbcfm.com.
Using the Notes App
The Notes app on your iPhone offers a built-in document scanner that can quickly capture and save your documents. To use this feature, follow these steps:
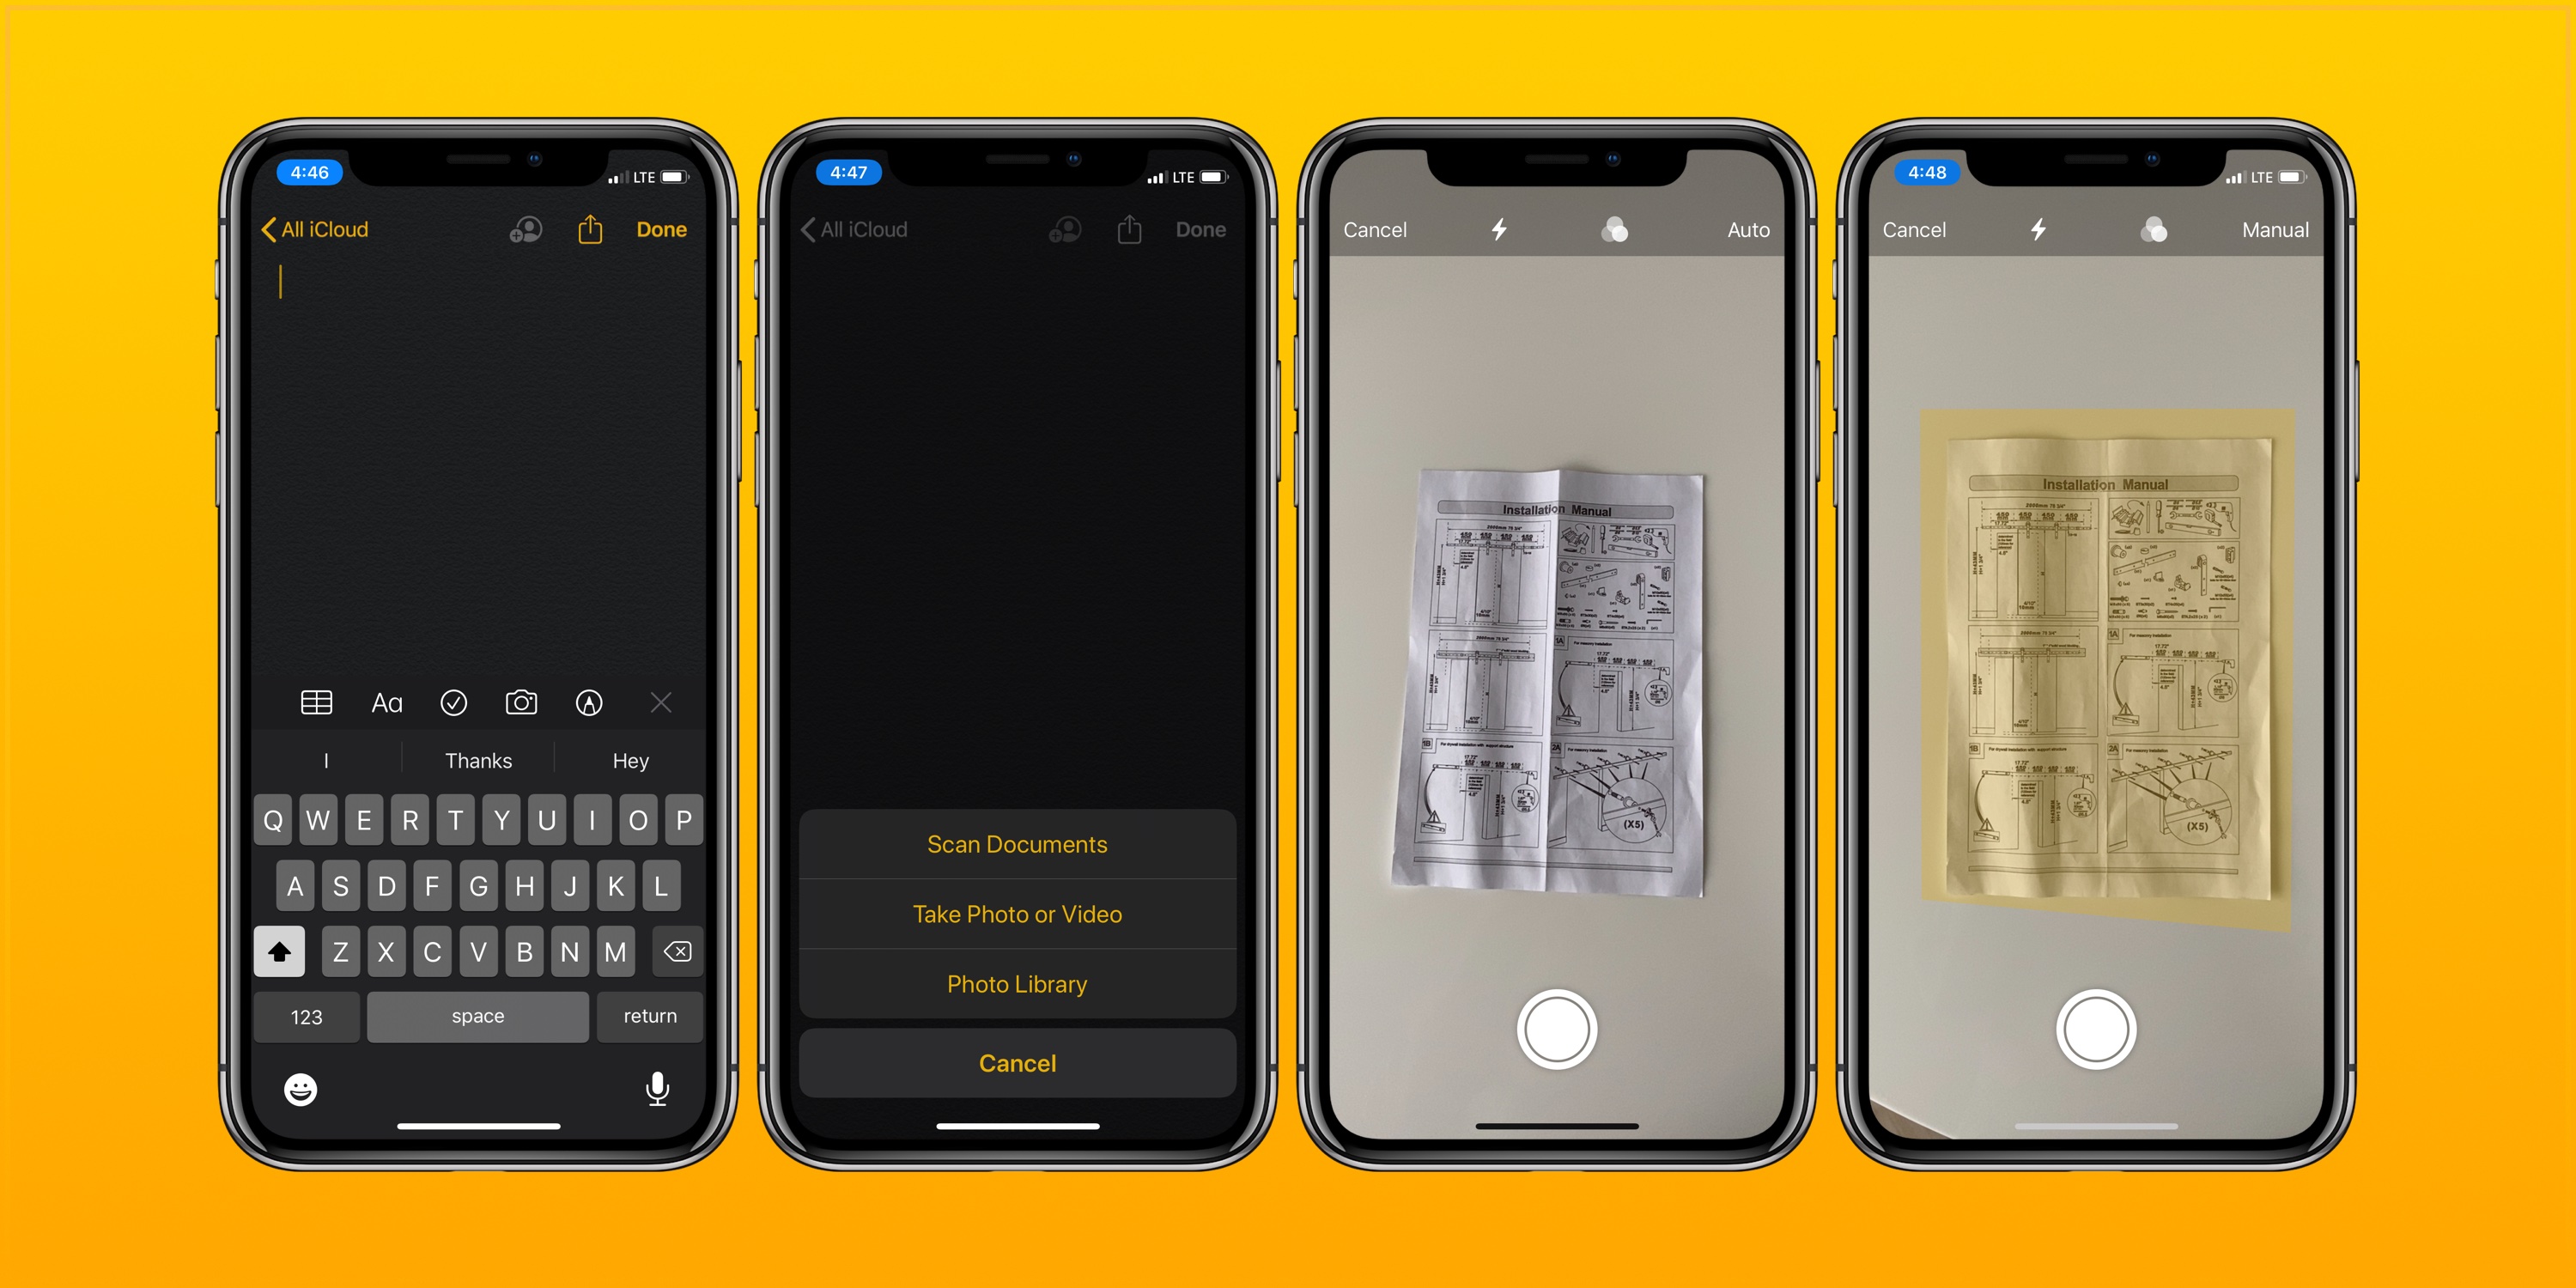
- Open the Notes app on your iPhone.
- Create a new note or open an existing one.
- Tap the (+) icon to add content to the note.
- Select “Scan Documents” from the options.
- Position your document within the frame and tap the capture button.
- Continue capturing additional pages if necessary.
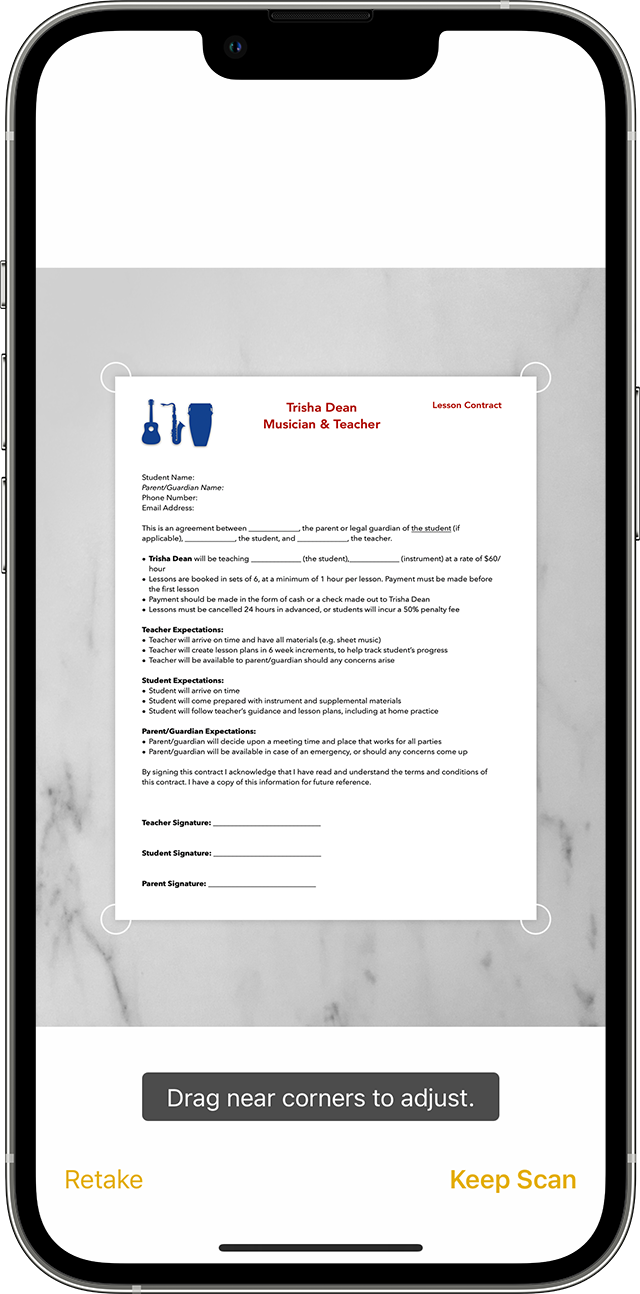
- Adjust the corners of the scanned document if needed.
- Tap “Save” to save the scanned document to your note.
Using the Files App
If you prefer to save your scanned documents directly to your iCloud Drive or another cloud storage service, you can use the Files app. Just follow these steps:
- Open the Files app on your iPhone.
- Navigate to the location where you want to save the scanned document.
- Tap the (…) more options button in the bottom right corner.
- Select “Scan Documents” from the options.
- Position your document within the frame and tap the capture button.
- Continue capturing additional pages if necessary.
- Adjust the corners of the scanned document if needed.
- Tap “Save” to save the scanned document to the selected location.

This image is property of support.apple.com.
Using a Third-Party Scanner App
If the built-in scanning options don’t meet your requirements, you can explore third-party scanner apps available on the App Store. These apps offer additional features like OCR (Optical Character Recognition) and advanced editing tools. Here are a few popular scanner apps to consider:
- Adobe Scan
- CamScanner
- Scanner Pro by Readdle
Download and install your preferred scanner app from the App Store, follow the app-specific instructions to scan and save your documents.
Scanning Multiple Pages
Sometimes, you might need to scan a document that spans multiple pages. With the built-in scanning options on the iPhone, this is a straightforward process. Whether you’re using the Notes app or the Files app, simply continue capturing additional pages after each scan. All the pages will be combined into a single document.

This image is property of support.apple.com.
Adjusting Scan Settings
When scanning documents, you may want to adjust the scan settings to suit your needs. The Notes and Files app offer various options such as color filters, automatic edge detection, and page size selection. Experiment with these settings to achieve the best results for your scanned documents.
Enhancing and Editing Scanned Documents
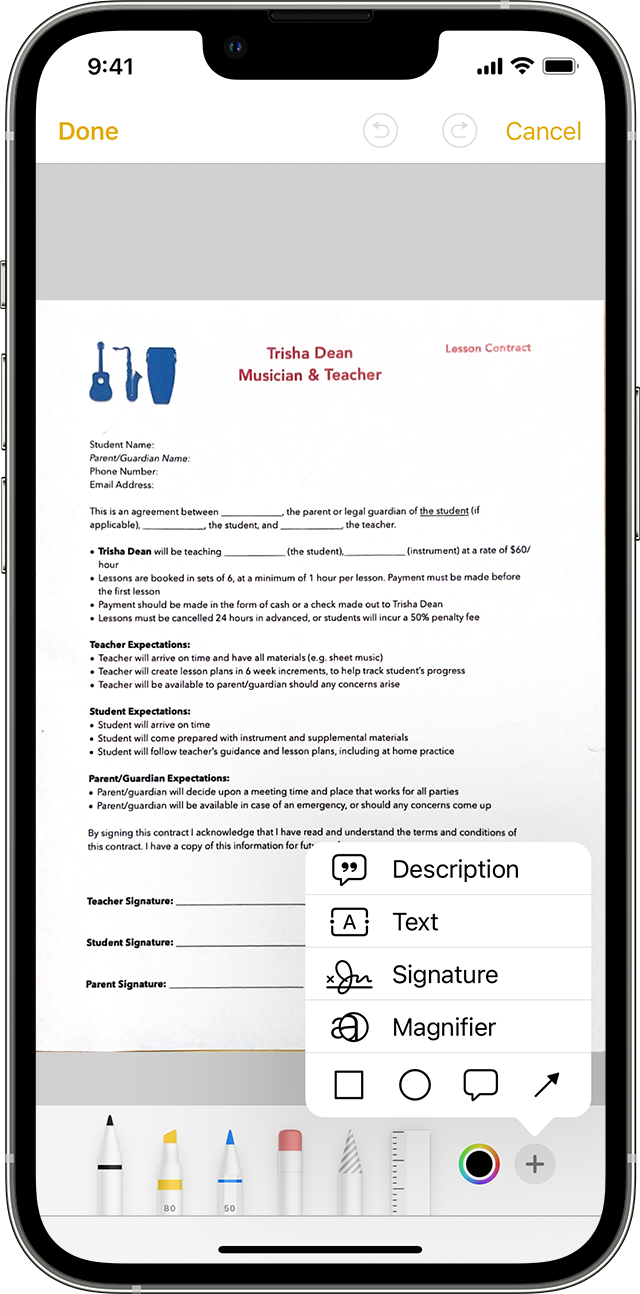
Once you’ve scanned a document, you may want to enhance or make edits to ensure it’s legible and presentable. If you’re using the Notes or Files app, you can use the built-in editing tools to rotate, crop, adjust brightness, and apply filters to your scanned documents. For more advanced editing options, consider using third-party scanner apps that offer additional features.

This image is property of i.ytimg.com.
Sharing and Saving Scanned Documents
After scanning and editing your document, you’ll likely want to save and share it. The Notes and Files app allow you to easily save scanned documents to various locations, including iCloud Drive, other cloud storage services, or email them directly. Simply choose the desired option and follow the prompts to complete the process.
Conclusion
Scanning documents on your iPhone has never been easier. With the built-in scanning capabilities of the Notes and Files app, or the advanced features of third-party scanner apps, you can quickly digitize your documents and eliminate the need for traditional scanners. Experiment with different apps and settings to find the best method that suits your requirements. Enjoy the convenience of having important documents at your fingertips, wherever you go.

This image is property of 9to5mac.com.